
Any person that has a basic computer knowledge can go ahead and use Microsoft Network Monitor, Fiddler or any other similar application to monitor his/her own network traffic, whereupon he/she will see that the applications which use HTTP have their data displayed plainly. And people with a little more technical knowledge can go further and use other applications (such as Cain and Abel) to sniff the whole network, which will include packages from every computer connected to it. So, someone just logged in to a website that used HTTP while you were listening to the network? Well, tough luck for him/her, because you’ve just sniffed the username and password.
For demonstration, I’ve created an Azure Cloud Service that has a method which returns the number of characters for a given string. And as you see, Fiddler directly catches my request to the web method and its response:

This is what I sent to the web method.
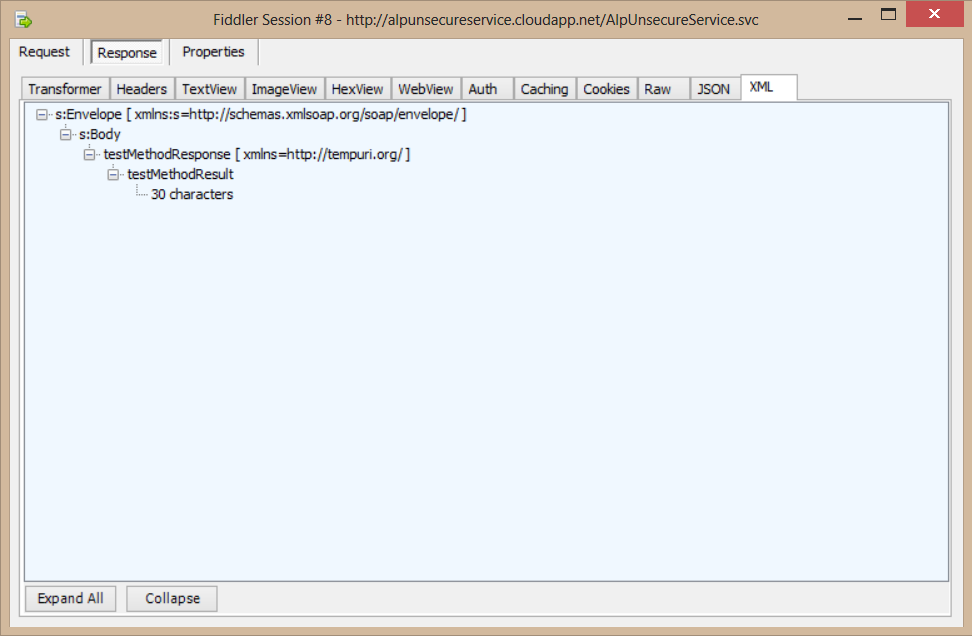
And this is what the web method returned.
Of course, a competent developer would take precautions against this. We use hashing and salting for username – passwords so they are not displayed plainly, but still, we don’t want people to get the hashed version either, because then they could try decrypting it or use that hashed version to make calls to our service themselves. Therefore, we need more security.
This is where HTTPS comes in, which is actually the HTTP protocol with SSL on top. SSL (Secure Socket Layer) uses certificates for encryption and authorization, therefore allowing a secure communication over the network. Many applications (such as e-mail, instant messaging or voice-over-IP applications) use this to ensure security, and in this article, we’ll see how we can use it in our own Azure Cloud Service.


